First of all, the text is often shoved over into a skinny column while annoying ads hog most of the real estate on one or both sides.
Or those Wikitext articles that cover the entire screen in print.
Or that dreaded notice on the bottom "Click here for next page."
There are Chrome extensions to handle each of these problems individually, but there's one that handles them both.
PageZipper
The first extension is PageZipper, available here on the Chrome Store, and it does just what its name claims. Install and click on the extension, and it will take a multi-page article and zip it together into one long continuous screen.
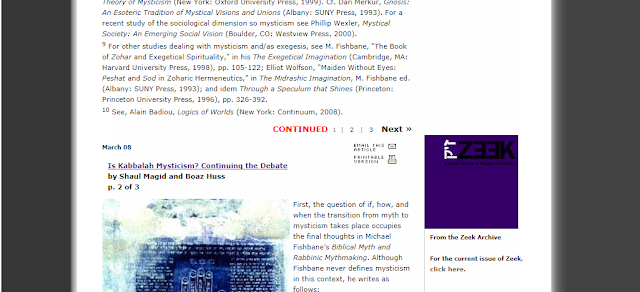
Here is screenshot showing the transition from the bottom of the first page to the top of the second.
But if there are ads at the bottom of each page, you still have to wade through all of them to get to the next page. And it does nothing to remove the distracting ads or increase the print size.
Mercury Reader
To deal with the crowded or cluttered page, there is Mercury Reader, available here on the Chrome Store. It is heir to such dearly departed extensions as Read Now and Clearly.Mercury Reader cleans up the page, keeps the illustrations, eliminates the advertisements and extraneous information, and allows you to read in large, uncluttered print on your screen.
If you click on the Settings gear in the top right corner (not pictured) you can choose between serif and sans serif and adjust the size of the font.
Unfortunately, Mercury Reader will not display all the pages of a multi-page article.
Readability Redux
However, Readability Redux does all these things. It's customizable, cleans up the page and displays all the pages of a multi-page article on one screen.Caveat - the following extension can no longer be found by searching the Chrome Store, but this link will bring you to it directly. It hasn't been updated in 6 years, but it still works and it works better than any other extension at solving both these problems at once.
However, it does take a moment to set up to your liking. Right-click the extension and go to Options.
Fine tune your settings (you can see what they will look like as you choose) for Style, Print Size, and Margin Width.
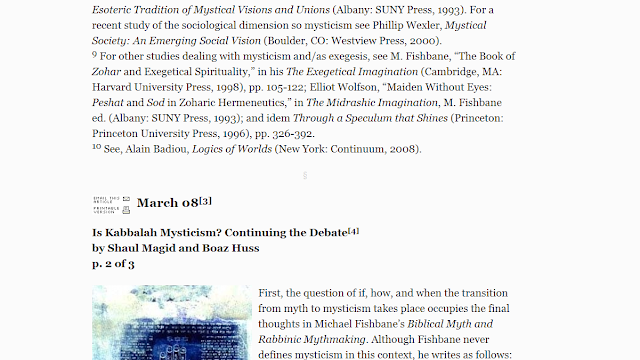
Not only does Readability Redux remove all the ads and give you a nice readable, uncluttered page, it also automatically sews together all the pages from a multi-page article.
Here's a screen shot of the transition from the first to second page:
So despite its age and limited availability, Readability Redux is still my go-to extension for reading anything on my monitor.


